Vacuum Cleaner Smells Bad: Causes and How to Fix It
Vacuum cleaner smells bad? Learn the 5 most common odor causes — musty, pet, burning, dirty — and step-by-step fixes to deodorize your vacuum.
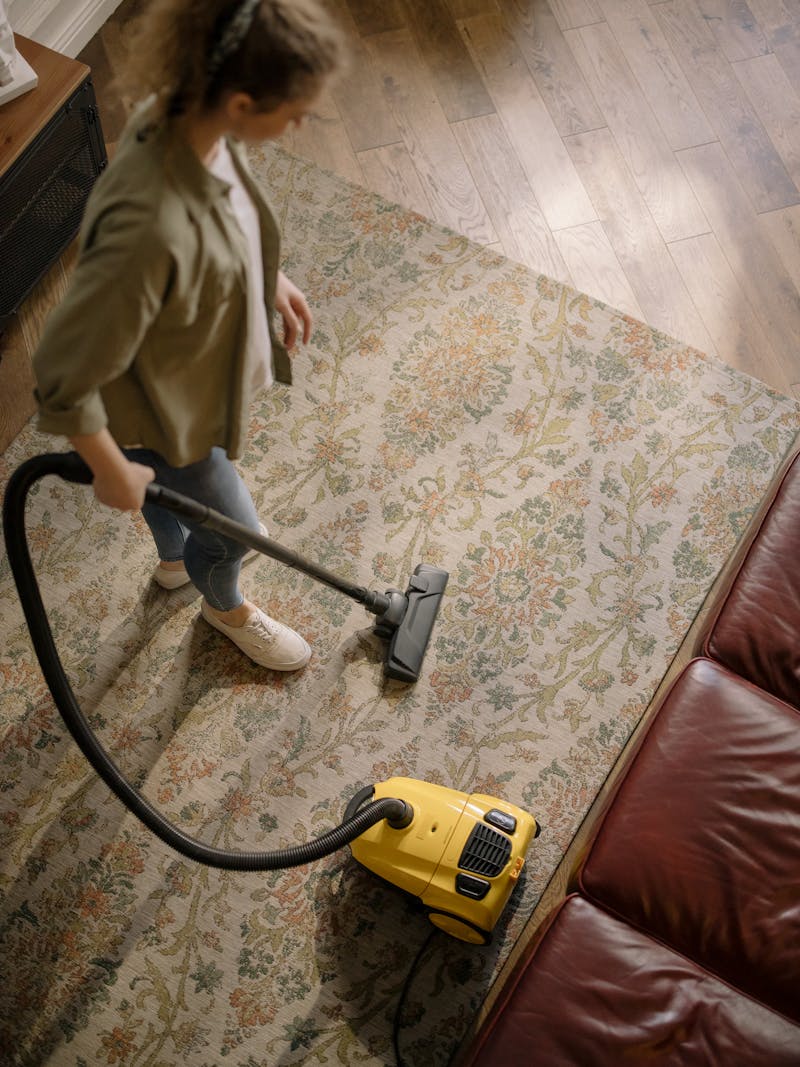
Table of Contents
There are few things more counterproductive than turning on your vacuum cleaner and filling your home with a foul odor. You set out to clean, and instead the air smells worse than when you started. If your vacuum cleaner smells bad, you are not alone — it is one of the most common vacuum complaints, and the good news is that the fix is almost always simple.
The smell is not just unpleasant. Because a vacuum actively blows air through its exhaust, any odor trapped inside gets distributed throughout your entire home. A vacuum with a dirty filter or a bin full of pet hair is, in effect, a smell-spreading machine. Understanding where the odor comes from is the first step toward eliminating it for good.
This guide covers every major vacuum odor type, explains what causes each one, and walks you through a complete deodorizing process you can do at home with items you likely already have.
Why Vacuums Develop Bad Smells
A vacuum cleaner works by pulling air — along with dust, debris, and anything else on your floor — through a series of components: the brush roll, the hose, the dustbin or bag, and the filter. Every one of those components can trap organic material: skin cells, pet dander, food particles, mold spores, and bacteria.
Over time, and especially in warm or humid conditions, that trapped organic matter begins to decompose. The exhaust air that blows out of your vacuum carries those odors with it, spreading them around the room. A vacuum that smells bad is not defective — it is simply overdue for a cleaning.
The 5 Most Common Vacuum Odors and Their Causes
1. Musty or Mold Smell
A musty vacuum is almost always a moisture problem. The two most common causes are:
Vacuuming wet or damp debris. Even a small amount of wet dirt, damp pet hair, or a spilled drink that has soaked into carpet can introduce moisture into the vacuum’s bin and filter. In those dark, warm conditions, mold and mildew grow quickly — sometimes within 24 to 48 hours.
Washing the filter and not drying it completely. Many vacuum filters are washable, which is great for maintenance, but they need to be dried for a full 24 hours before being placed back in the vacuum. If you reinstall a damp filter, you are essentially sealing wet material inside a warm enclosed space — a perfect environment for mold.
The musty smell is one of the most important to address promptly because mold spores can aggravate allergies and respiratory conditions. If you notice this smell, the filter is the first thing to inspect.
2. Pet Odor
If you have dogs or cats, you already know that pet hair carries a distinct smell. That smell comes from a combination of pet dander (microscopic flakes of skin), natural skin oils, saliva residue on shed fur, and — in some cases — trace amounts of urine or outdoor debris.
All of that material accumulates in three primary areas: the dustbin or bag, the filter, and the brush roll. The brush roll is particularly problematic because hair physically wraps around it, and the friction of spinning can actually heat the hair slightly, intensifying the odor. Over weeks and months of use, these deposits build up into a concentrated source of pet smell that gets blown throughout your home every time you vacuum.
Pet odor in vacuums responds very well to regular cleaning and a few natural deodorizing tricks, which are covered in detail below.
3. Dirty or Dusty Smell
Sometimes the smell is not dramatic — it is just an unpleasant, stale, dusty odor that makes the air feel heavy. This is the most common vacuum smell and the easiest to fix.
The cause is almost always one of two things: a full dustbin or a clogged filter. When the bin is full, air cannot pass through efficiently. Debris gets recirculated and stirred up rather than captured, and the exhaust carries that stale, concentrated dust smell out into the room.
A clogged or dirty filter has the same effect. The filter is the last barrier between the collected debris and your room’s air. When it is saturated with fine particles, it stops filtering effectively and starts contributing to the odor rather than blocking it.
The fix is the simplest of all: empty the bin and clean or replace the filter.
4. Burning Rubber or Burning Plastic Smell
A burning smell from a vacuum is in a different category from the odors listed above. While a musty or pet smell is a maintenance issue, a burning smell can indicate a mechanical problem — an overheating motor, a belt that is slipping or has snapped, or a clog that is forcing the motor to work too hard.
Because this type of odor has its own causes, its own diagnostic steps, and its own safety considerations, we cover it in depth in a separate article: Vacuum Smells Like Burning: 6 Causes and What to Do.
If your vacuum smells like burning rubber or hot plastic, stop using it and consult that guide before continuing.
5. Sewer or Rotten Smell
A sewer-like, rotten, or deeply foul smell usually means one thing: something organic was vacuumed up and has begun to decompose inside the vacuum. Common culprits include:
- Food crumbs or small food particles that were vacuumed up and have grown bacteria or mold
- Pet waste — either a small amount that was tracked across the floor or residue on the brush roll
- A dead insect or small pest that was vacuumed up unnoticed
- Fruit or vegetable matter that fell and was vacuumed before you noticed
This type of smell will not go away on its own. The decomposing material needs to be physically removed. A thorough cleaning of the bin, filter, hose, and brush roll — combined with a rinse of the bin with a diluted white vinegar solution — is usually enough to eliminate it completely.
Step-by-Step Guide: How to Deodorize Your Vacuum
Work through these steps in order. In most cases, steps one through three will resolve the problem entirely. The remaining steps are supplementary deodorizing techniques for stubborn odors.
Step 1: Empty and Wash the Dustbin
Start by taking the dustbin outside to empty it — this prevents spreading the dust and odor back into your home. For bagless vacuums, empty the bin completely, then wash it with warm soapy water. A drop of dish soap is sufficient. Rinse thoroughly and allow it to air dry completely before reassembling.
For bagged vacuums, replace the bag. Even if the bag is not completely full, an old bag can harbor bacteria and contribute significantly to the smell. Bags are inexpensive, and replacing them is one of the most effective single steps you can take.
While the bin is out, take a moment to wipe down the interior walls of the vacuum body around the bin chamber with a damp cloth. Dust and debris collect here too.
Step 2: Clean or Replace the Filter
The filter is the single most impactful component when it comes to vacuum odors. Filters trap fine particles, bacteria, mold spores, and dander — and if they are not cleaned regularly, they become the primary odor source.
For washable filters: Remove the filter and tap it gently over a trash can to dislodge loose debris. Then rinse it under cold water — not hot, which can damage the filter material — until the water runs clear. Do not use soap unless the manufacturer specifically recommends it. Then set the filter aside to dry for a full 24 hours. This is critical. Do not rush it. An incompletely dried filter will immediately introduce moisture and start the mold cycle again.
For non-washable filters: If the filter is discolored, deformed, or visibly clogged, replace it. Most vacuum filters cost between $10 and $25 and should be replaced every 3 to 6 months under normal use, or every 1 to 2 months in heavy-use households with pets.
Step 3: Clean the Brush Roll
The brush roll — also called a beater bar or roller brush — is a major odor trap, especially in homes with pets. Hair, carpet fibers, and debris wind tightly around the bristles and the axle, creating dense, compacted masses that are warm, dark, and full of organic material.
Remove the brush roll from the vacuum (most models allow this with a simple release mechanism or a few screws). Use scissors to carefully cut through the wrapped hair, then pull it away with your fingers or a seam ripper. Wipe down the brush roll itself with a damp cloth, and clean out the brush roll housing — the channel in the vacuum head where it sits — with a dry cloth or a small brush.
If the brush roll bristles are worn flat, bent, or deeply saturated with debris, this is also a good time to replace it.
Step 4: The Baking Soda Trick
Once the vacuum is cleaned and reassembled, this classic trick helps neutralize any residual odors from within the machine. Sprinkle a small amount of baking soda — about one to two tablespoons — onto a hard floor or a piece of paper. Then vacuum it up directly.
As the baking soda passes through the vacuum and is deposited into the clean bin, it continues to absorb odors from the interior surfaces, the hose walls, and the filter housing. Leave it in the bin for a few hours if possible before emptying it again.
Important note: use only a small amount. Vacuuming large quantities of fine powder can clog filters and reduce suction. A light dusting is all you need. For a full discussion of this technique, see our guide on Can You Vacuum Baking Soda?
Step 5: Essential Oil on the Filter
This is a popular and effective technique for adding a pleasant, lasting scent to the air your vacuum exhausts. Apply two to three drops of an essential oil to the filter — lavender is the most commonly used because it is pleasant and non-irritating, but lemon, eucalyptus, and tea tree oil all work well.
As the vacuum runs, the airflow passes over the filter and carries a subtle scent out of the exhaust. The effect is not overpowering — it simply replaces a stale or musty smell with a clean, mild fragrance.
A few cautions: use only a small amount (more is not better — too much oil can make the smell overwhelming), avoid applying oil near the motor or electrical components, and make sure the filter is fully dry before applying oil.
Step 6: Activated Charcoal in the Bin
Activated charcoal is an exceptionally powerful odor absorber. Unlike baking soda, which neutralizes acidic odors through a chemical reaction, activated charcoal works through adsorption — its porous structure traps odor molecules physically.
You can purchase small activated charcoal sachets or loose granules from most home goods stores. Place a small sachet in the dustbin between uses. The charcoal will continue absorbing odors passively even when the vacuum is not running, keeping the bin fresh between cleanings.
This technique is especially useful for pet owners, where the bin fills with odorous material quickly.
Step 7: Replace Worn Parts That Absorb Odors
Some odors are structural. If the vacuum hose is old and cracked, debris can get lodged in the cracks. If the brush roll has been in service for years, the bristles and surrounding material may be permanently saturated with pet odor and oils. If the pre-motor foam filter has never been replaced, it may be beyond cleaning.
If you have cleaned every component thoroughly and the vacuum still smells bad, assess whether any parts need to be replaced rather than cleaned. Replacement hoses, brush rolls, filters, and foam gaskets are available for most vacuum models and are generally inexpensive. Sometimes a fresh part is the only complete solution.
Prevention: How to Keep Your Vacuum Smelling Fresh
A few simple habits will prevent odors from building up in the first place:
Empty the dustbin regularly. Do not wait until it is full. Emptying after every use — or at least after every two or three uses — dramatically reduces the amount of decomposing material inside the vacuum at any given time.
Never vacuum wet material. If a spill has soaked into carpet, allow it to dry completely or use a wet-dry vacuum designed for the purpose. Introducing wet material into a standard vacuum is the fastest way to create a mold problem.
Dry washed filters completely. Give washable filters a full 24 hours to air dry after washing. If you vacuum frequently, consider buying a spare filter so you always have a dry one available.
Clean the brush roll monthly. In pet households, inspect and clean the brush roll after every few uses. Hair wraps up faster than you expect.
Change bags and filters on schedule. Set a reminder. Most filters should be replaced every 3 to 6 months, and bags should be replaced when two-thirds full, not completely packed.
Store the vacuum in a dry location. Avoid storing the vacuum in damp basements or humid garages. Moisture encourages mold growth even in a clean vacuum.
Frequently Asked Questions
Why does my vacuum smell bad when I turn it on? The most likely cause is a dirty filter, a full dustbin, or accumulated pet hair and debris in the brush roll. The exhaust air from your vacuum passes through all of these components, picking up odors along the way. Follow the step-by-step cleaning guide above to address each one.
Why does my vacuum smell like mold or mildew? A musty smell almost always indicates moisture. Either something damp was vacuumed up, or the filter was washed and reinstalled before it was fully dry. Remove the filter and check it for visible mold. If moldy, replace it. Wash and thoroughly dry the dustbin, and do not reinstall the filter until it has had at least 24 hours to air dry.
Why does my vacuum smell like dog even after cleaning? Pet odor can be deeply embedded in the filter, brush roll bristles, and hose lining. If basic cleaning does not resolve it, try the activated charcoal sachet method, apply a few drops of essential oil to the filter, and consider replacing the filter and brush roll entirely if they are more than a year old.
Can I use perfume or air freshener in my vacuum? It is not recommended. Most perfumes and commercial air fresheners contain chemicals that can damage filter materials or leave residue on internal components. Essential oils applied sparingly to the filter are a safer and more effective alternative.
How often should I clean my vacuum to prevent smells? Empty the bin after every use or two. Clean or tap out the filter monthly. Wash the filter (if washable) every one to two months, and replace it every three to six months. Clean the brush roll monthly, or more often if you have pets.
Is a bad-smelling vacuum a health concern? A vacuum that smells musty or like pet odor is spreading mold spores, bacteria, and allergens through your air every time it runs. For people with allergies, asthma, or respiratory sensitivities, this can trigger symptoms. Regular cleaning is not just about comfort — it is a meaningful part of maintaining good indoor air quality.
My vacuum smells like burning. Is that the same issue? No. A burning smell is a separate issue that may indicate a mechanical problem such as an overheating motor, a broken belt, or a serious clog causing strain on the machine. See our dedicated guide: Vacuum Smells Like Burning: 6 Causes and What to Do.
The Bottom Line
A vacuum cleaner that smells bad is spreading those odors into every room you clean. But in the vast majority of cases, the fix is a thorough cleaning of three components: the dustbin, the filter, and the brush roll. Add a baking soda pass, a few drops of essential oil on the filter, and a charcoal sachet in the bin, and most vacuums will come out smelling genuinely neutral or fresh.
The deeper lesson is that vacuums need maintenance to perform their best. A clean vacuum does not just smell better — it has stronger suction, captures more fine particles, and extends the life of the machine. Spending fifteen minutes on vacuum maintenance every month is one of the most effective things you can do for the cleanliness of your home.
Top Picks

Bissell CleanView XR cordless vacuum: 200W motor, 35-min runtime, tangle-free brush roll & 3-in-1 design. Top-rated stick vacuum for home. Shop now.

Bissell Featherweight stick vacuum weighs only 3 lbs and converts into 3 machines. Bagless design with crevice tool for carpet, hard floors, and furniture.

Bissell CleanView XR Pet 300W cordless stick vacuum with 40-min runtime, deep cleaning FurBrush, and removable battery. Expert review with full specs.

Bissell Featherweight 2033M is an ultra-lightweight 3-in-1 bagless stick vacuum for hard floors, carpet, and stairs. Converts to hand vac with crevice tool.
Bissell Featherweight 2033 lightweight stick vacuum converts to handheld. Bagless, corded, with crevice tool for carpets, hard floors, and stairs.
BLACK+DECKER Dustbuster AdvancedClean cordless handheld vacuum with cyclonic suction and 16V battery. Great for home and car. Read our expert review now.
Ready to Find Your Perfect Vacuum?
Browse our expertly reviewed vacuum cleaners and make an informed decision
Browse All Vacuums